If you've gotten a few epoxy quotes, you've probably heard "we use 100% solids" and "we put polyaspartic on top" — but maybe didn't get a clear explanation of why those choices matter or how they work together. This is that explanation.
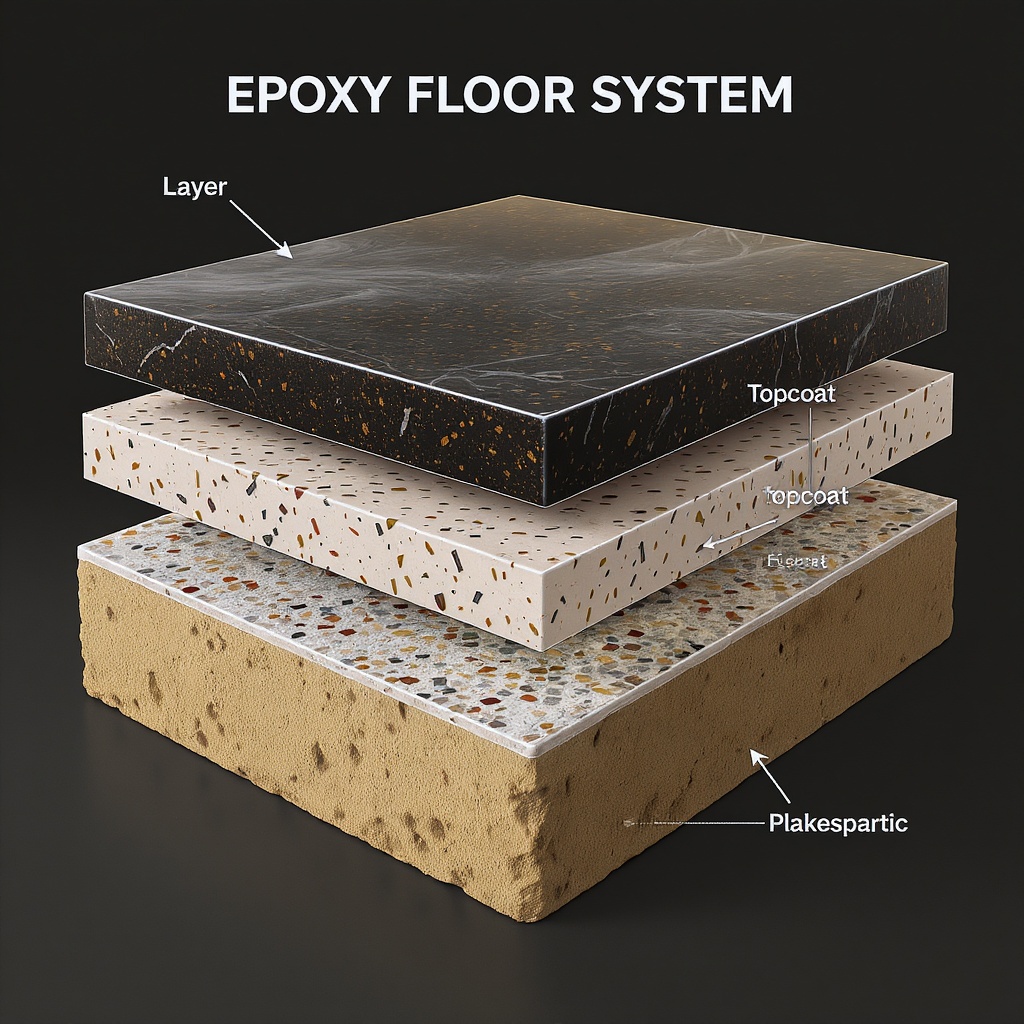
An epoxy floor that lasts 10–15 years in Central Florida isn't a single product. It's a system: a base coat that bonds to concrete, a decorative layer that gives it character, and a top coat that protects everything from UV, abrasion, and moisture. Skip any of the three, and you're going to have problems.
First: Why the Concrete Surface Has to Be Right
Before any product touches the floor, we spend a full day on surface preparation. The concrete gets ground with industrial diamond tooling — not acid-etched, not pressure-washed. Grinding opens the concrete's pores, removes weak surface laitance, and creates a consistent profile across the entire slab.
We measure the surface profile with specialized tape (Tape Test per ASTM D-3359 adhesion method). If it doesn't pass, we don't move forward. The adhesive bond between the base coat and the concrete is what the entire system depends on. Everything else — the flakes, the topcoat, the glossy finish — is only as good as that bond.
Acid etching is inconsistent in Florida's high-humidity climate. The reaction depends on concrete alkalinity, surface moisture, and ambient conditions — you get a variable profile that sometimes works and sometimes doesn't. Mechanically grinding gives us a reliable, measurable result every time. It's more expensive and more work. But it's the right way to do it.
The Three Layers
100% Solids Epoxy Base Coat
The foundation of the entire system. This is mixed on-site — part A resin + part B hardener — and applied directly to the prepared concrete. "100% solids" means exactly what it sounds like: the product contains no solvents, no water, no carriers that evaporate off during cure. The entire film thickness stays on the floor.
This is what distinguishes a professional-grade floor from a DIY epoxy kit from the hardware store. Those kits are typically water-based or low-solids — they shrink during cure, have less film thickness, and don't bond as aggressively to the concrete.
The base coat also serves as the adhesive matrix for the flake broadcast. We apply it at 10–16 mils wet, then broadcast flake into the wet surface. The flakes embed fully and lock in as the base coat cures.
Decorative Flake Broadcast (or Metallic Pigment)
Once the base coat is applied, we broadcast decorative flakes — colored polymer chips in a range of sizes and colors — into the wet surface. The broadcast is semi-random: we apply it generously enough that the floor has consistent coverage, but not so heavily that the flakes stack and cause adhesion issues in the topcoat.
The flake layer does several things at once: it adds visual texture and color depth, it masks minor concrete imperfections (which is why flake systems are better at hiding a flawed slab than metallic), it adds subtle slip resistance, and it breaks up large flat areas so the floor doesn't look flat or sterile.
Flake color and density is part of the specification we set together during the quote process. We have standard combinations (gray on charcoal, tan on sand, midnight blue on slate), and we can build custom mixes. The flakes are not purely decorative — they're a structural part of the system.
2-Layer Polyaspartic Topcoat
This is where most contractors cut corners — and where the floor's lifespan is decided. The topcoat is the layer that takes the abuse: foot traffic, vehicle weight, UV exposure, chemical spills, moisture, temperature swings. For any floor in Central Florida, the topcoat must be polyaspartic.
Polyaspartic is an aliphatic polyurea — it's harder, more UV-stable, and more chemically resistant than standard epoxy. Standard epoxy topcoat will yellow and chalk within 2–3 years in direct Florida sunlight; polyaspartic maintains its clarity and gloss for a decade-plus with minimal maintenance.
We apply two coats of polyaspartic. The first coat seals the flake layer and builds film thickness. The second coat fills any pinholes in the first coat and brings the total topcoat thickness to spec — typically 2–3x thicker than what you'd get from a single coat of another product.
Why Each Layer Can't Be Skipped
Homeowners sometimes ask why we can't just do one thick coat of epoxy and be done with it. The short answer: because each layer does a specific job that no other layer can do.
- No base coat = no adhesion. Without the base coat, nothing bonds to the concrete. The floor delaminates.
- No flake layer = no texture or imperfection-masking. Without broadcast, the floor is flat and shows every crack and patch in the concrete. It's also less slip-resistant.
- No topcoat = no protection. The base coat and flake layer are not designed to withstand UV, abrasion, or chemical exposure. Without a proper topcoat, the floor fails.
- Standard epoxy topcoat instead of polyaspartic = yellowing and chalking in 2–3 years. The topcoat chemistry matters as much as the topcoat presence.
How Long Does the Full System Take?
The full installation — grinding, base coat, flake, topcoat, cure time — typically spans 2–3 days of actual work, with cure time between layers adding to the calendar time. We don't rush the cure windows. If the base coat needs 24 hours before the topcoat goes on, we wait 24 hours. Rushing the cure is how delamination happens.
After the final topcoat, the floor needs 24–48 hours before vehicle traffic and 72 hours before heavy loads (stored equipment, tool chests on casters). We walk through the full timeline with you before we start.
Want to see the system in person? Check out our photo gallery — every image is a real Southern Epoxy installation, no stock photos.
Get a Quote → We walk you through every layer before we lay a single one.